Upgrades and deferred maintenance
Over the next few months in 2017, I got to do some nice upgrades along with taking care of some much needed maintenance.
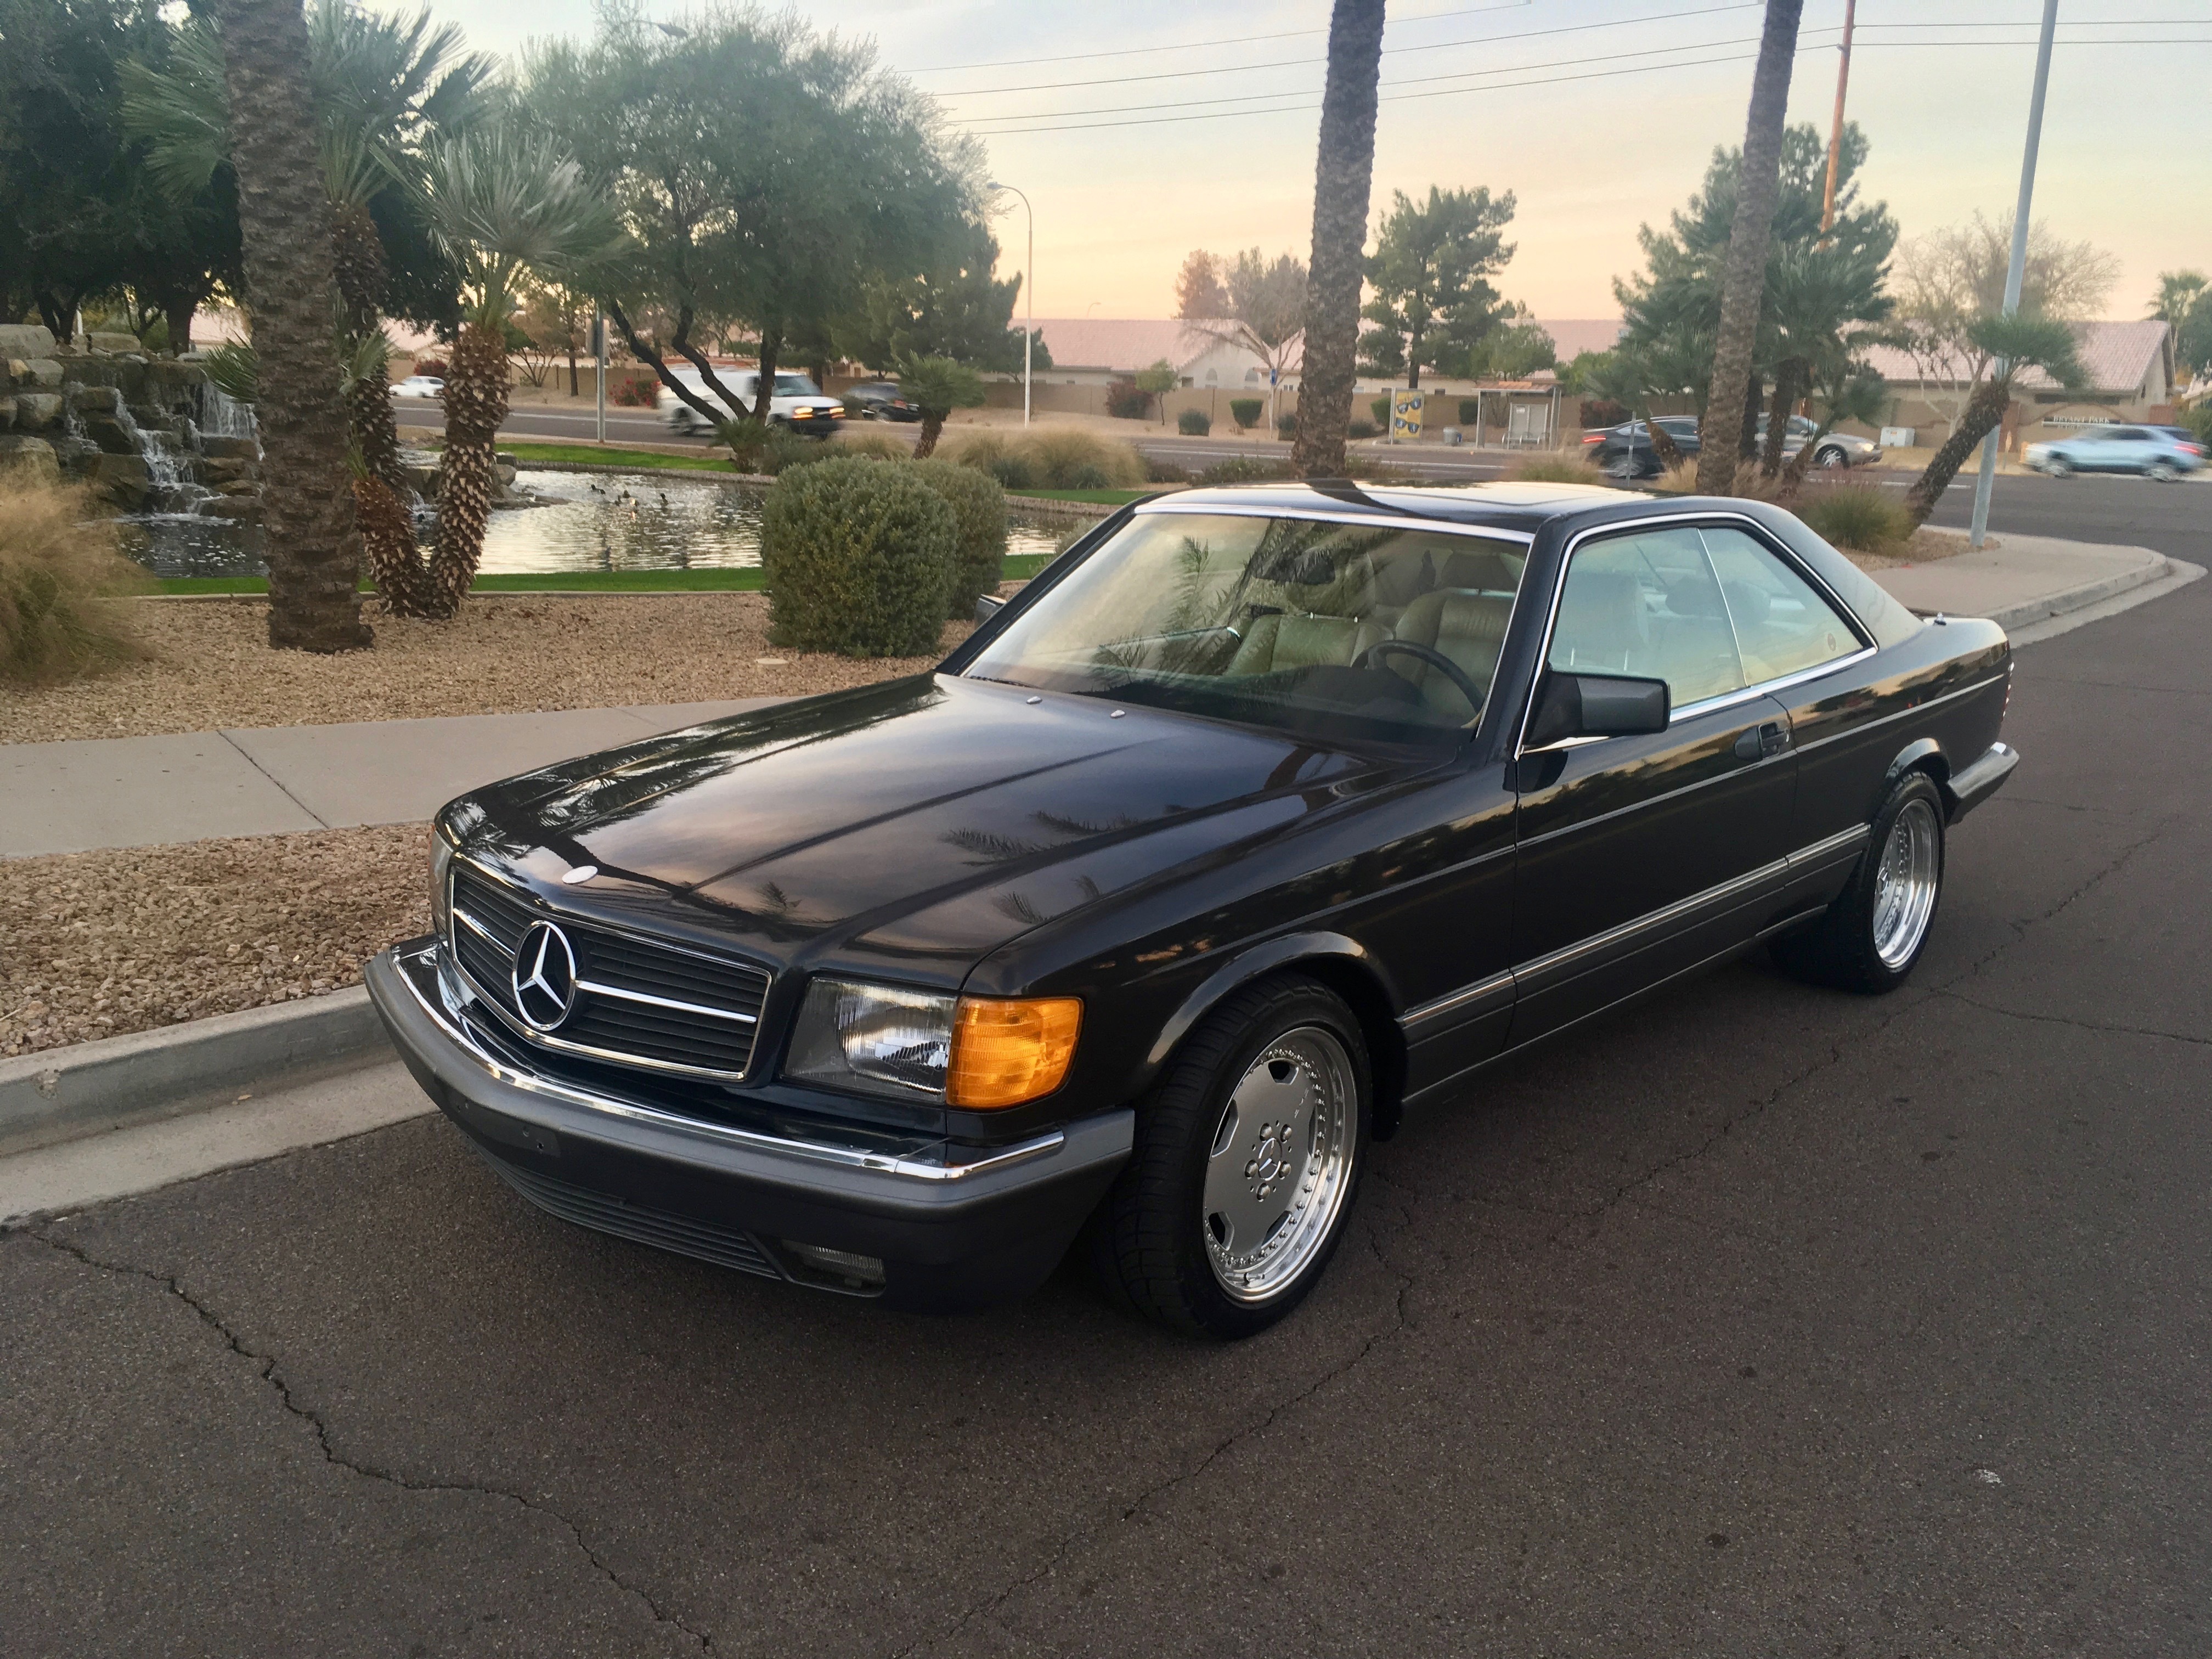
New 3-piece AMG Wheels
When the folks at Wheel Specialists Inc (WSI) were helping me sort out the wheel issues mentioned in the last post, they pointed out there are small hairline cracks in the centers of the 3 piece AMG wheels that came with the car. There have forum posts on BenzWorld debating if these are fixable, but the folks at WSI wouldn’t take on the repair and even with some folks sharing they did successful repairs it’s not clear how safe that could be.
I started scouting around for a new set. A few months into the search, a fellow W126 enthusiast on BenzWorld named Kim let me know he had a set available! They were in great shape- just needed some cleaning and paint. Over the next month or two, Kim and I got a chance to know each other a lot better via email and talk about cars while he cleaned and refinished the wheels after work and on weekends.
As Kim is in Australia, the shipping was a bit expensive, but not unreasonable. Between the price of the wheels themselves and the cost of
freight shipping, the total came out to around $2,800 USD. The wheels arrived in July in perfect shape- extremely well packed. It was really exciting carefully unpacking them and seeing all the care
he had put into preparing them for me. They were in PERFECT shape.

Being able to talk with Kim and ask lots of questions was key to getting this sorted out. He helped recommend tires (235/45/17 on fronts and 275/40/17 for the rears) to the lugnuts (63mm length (threaded shaft 39mm) 12 x 1.5). Everything turned out perfect!
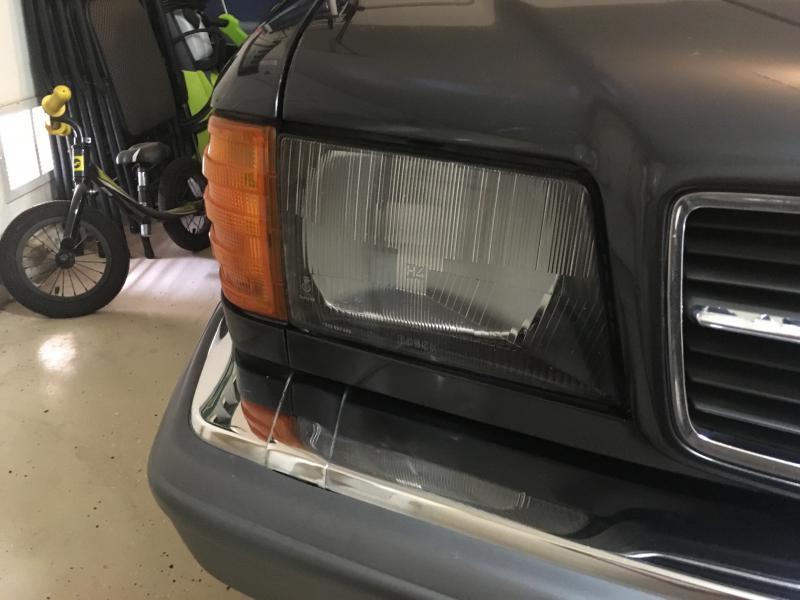
European-spec Headlamps
I don’t know all the history behind it, but up until the 1990’s, the US had strict guidelines about headlamps. They had to be sealed beam and most of them have three “nipples” on them that you can push a machine up to (at an inspection station) to adjust. The headlamps themselves look super ugly compared to what the rest of the world got and on top of that, they just don’t work very good. The light inside is noticibly dimmer than a euro-spec set with H4s.
I took the family on a trip to San Francisco in our older W221 S-Class and I ended up making a stop along the way in Hollywood, CA. There was a person Danny that had a set of European-spec headlamps for the SEC (which are different and rarer than the ones for the sedan). I got both headlamps in rough shape for $650 USD.
Once I got them home, I took them apart to see how everything looked. The glass had major pits and cracks, the reflectors were scratched and spray painted, and the internal plastic that surrounds
the reflectors was broke in multiple places and lightly held together with some JB Weld.
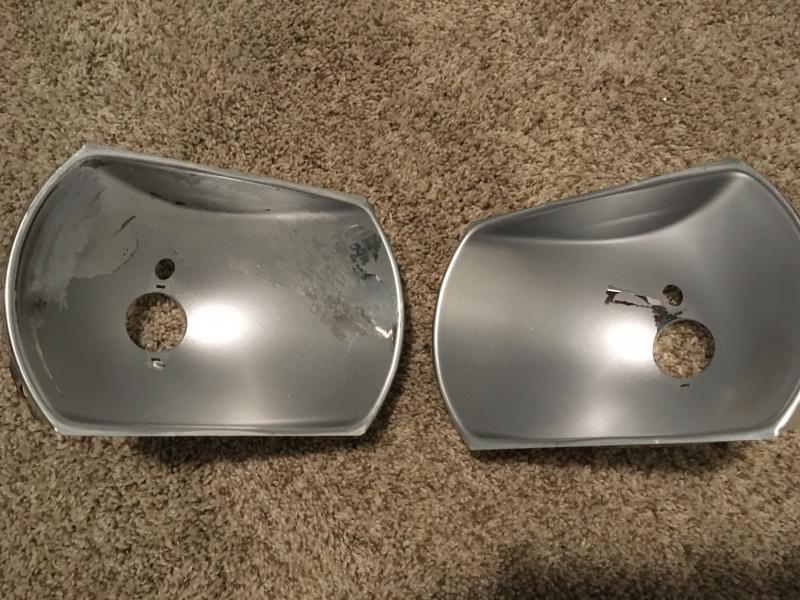
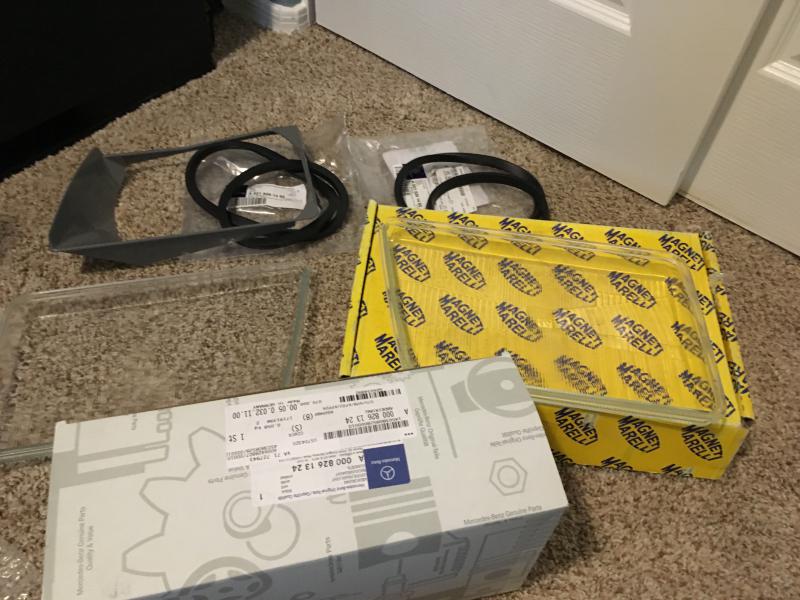
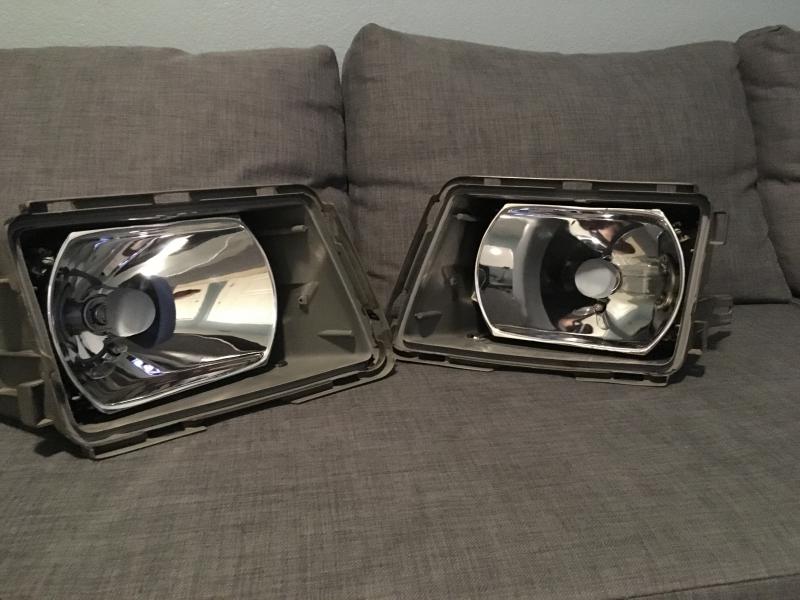
As much as it sucked having to drop extra money, I took the time to do everything right. The reflectors were stripped and refinished by Metro Plating in Mesa, AZ. They had a large queue of jobs before mine, but that gave me time to get all the other parts needed. Finding new headlamp glass was probably the hardest. When you’re buying glass for these old cars, you need to make sure you are buying LHD (left hand drive) lenses as the beam pattern is different for RHD cars. I found one lens from a guy in Egypt and the other I got from Adsitco.
Not too long after all the parts arrived, the reflectors were done. I put them in and wow- it turned out great!
 |
 |
The last step was to remove the headlamp wipers. I think the European Union (and likely other places) require headlamps to have washers to get snow, mud, or other muck off the headlamps so that the beam shines bright. I removed the panels under the headlamps, plugged the lines that go to the washer reservoir, threw out the US-spec headlamp wipers and motor, and got two new panels. I used the VIN from a 380 SEC (which in the US didn’t have headlamp wipers) to get this trim that goes under the headlamps. I was able to get a few rattlecans of 1-stage paint closely matching my paint at Space Age Auto Paint Store in Mesa, AZ.
Here’s how everything turned out:
Given how hard (and expensive) it is to find the glass lenses, I made sure to cover each of them with a nice 12mil film cover by Lamin-X (Two 12” x 12” Clear Universal Film Cover), which only cost about $40.
Big ticket maintenance items
Aside from oil changes and brakes, a lot of people neglect proper maintenance. As things inevitably break, it can be expensive and time consuming to properly fix everything. Besides the CarFax, this car didn’t have any history available so I wasn’t sure what was done and what wasn’t. Like a lot of older Mercedes-Benz, it had been neglected and needed some major work done.
I try to do as much work as I can myself - unless I don’t have the time, tools, or talent to do the job. And these bigger items, I definitely needed help. I made a few visits to MB motors and German Transmission in Phoenix to get things squared away.
 |
 |
 |
- AC compressor / receiver drier / pressure switch (+labor) - $1,275 USD
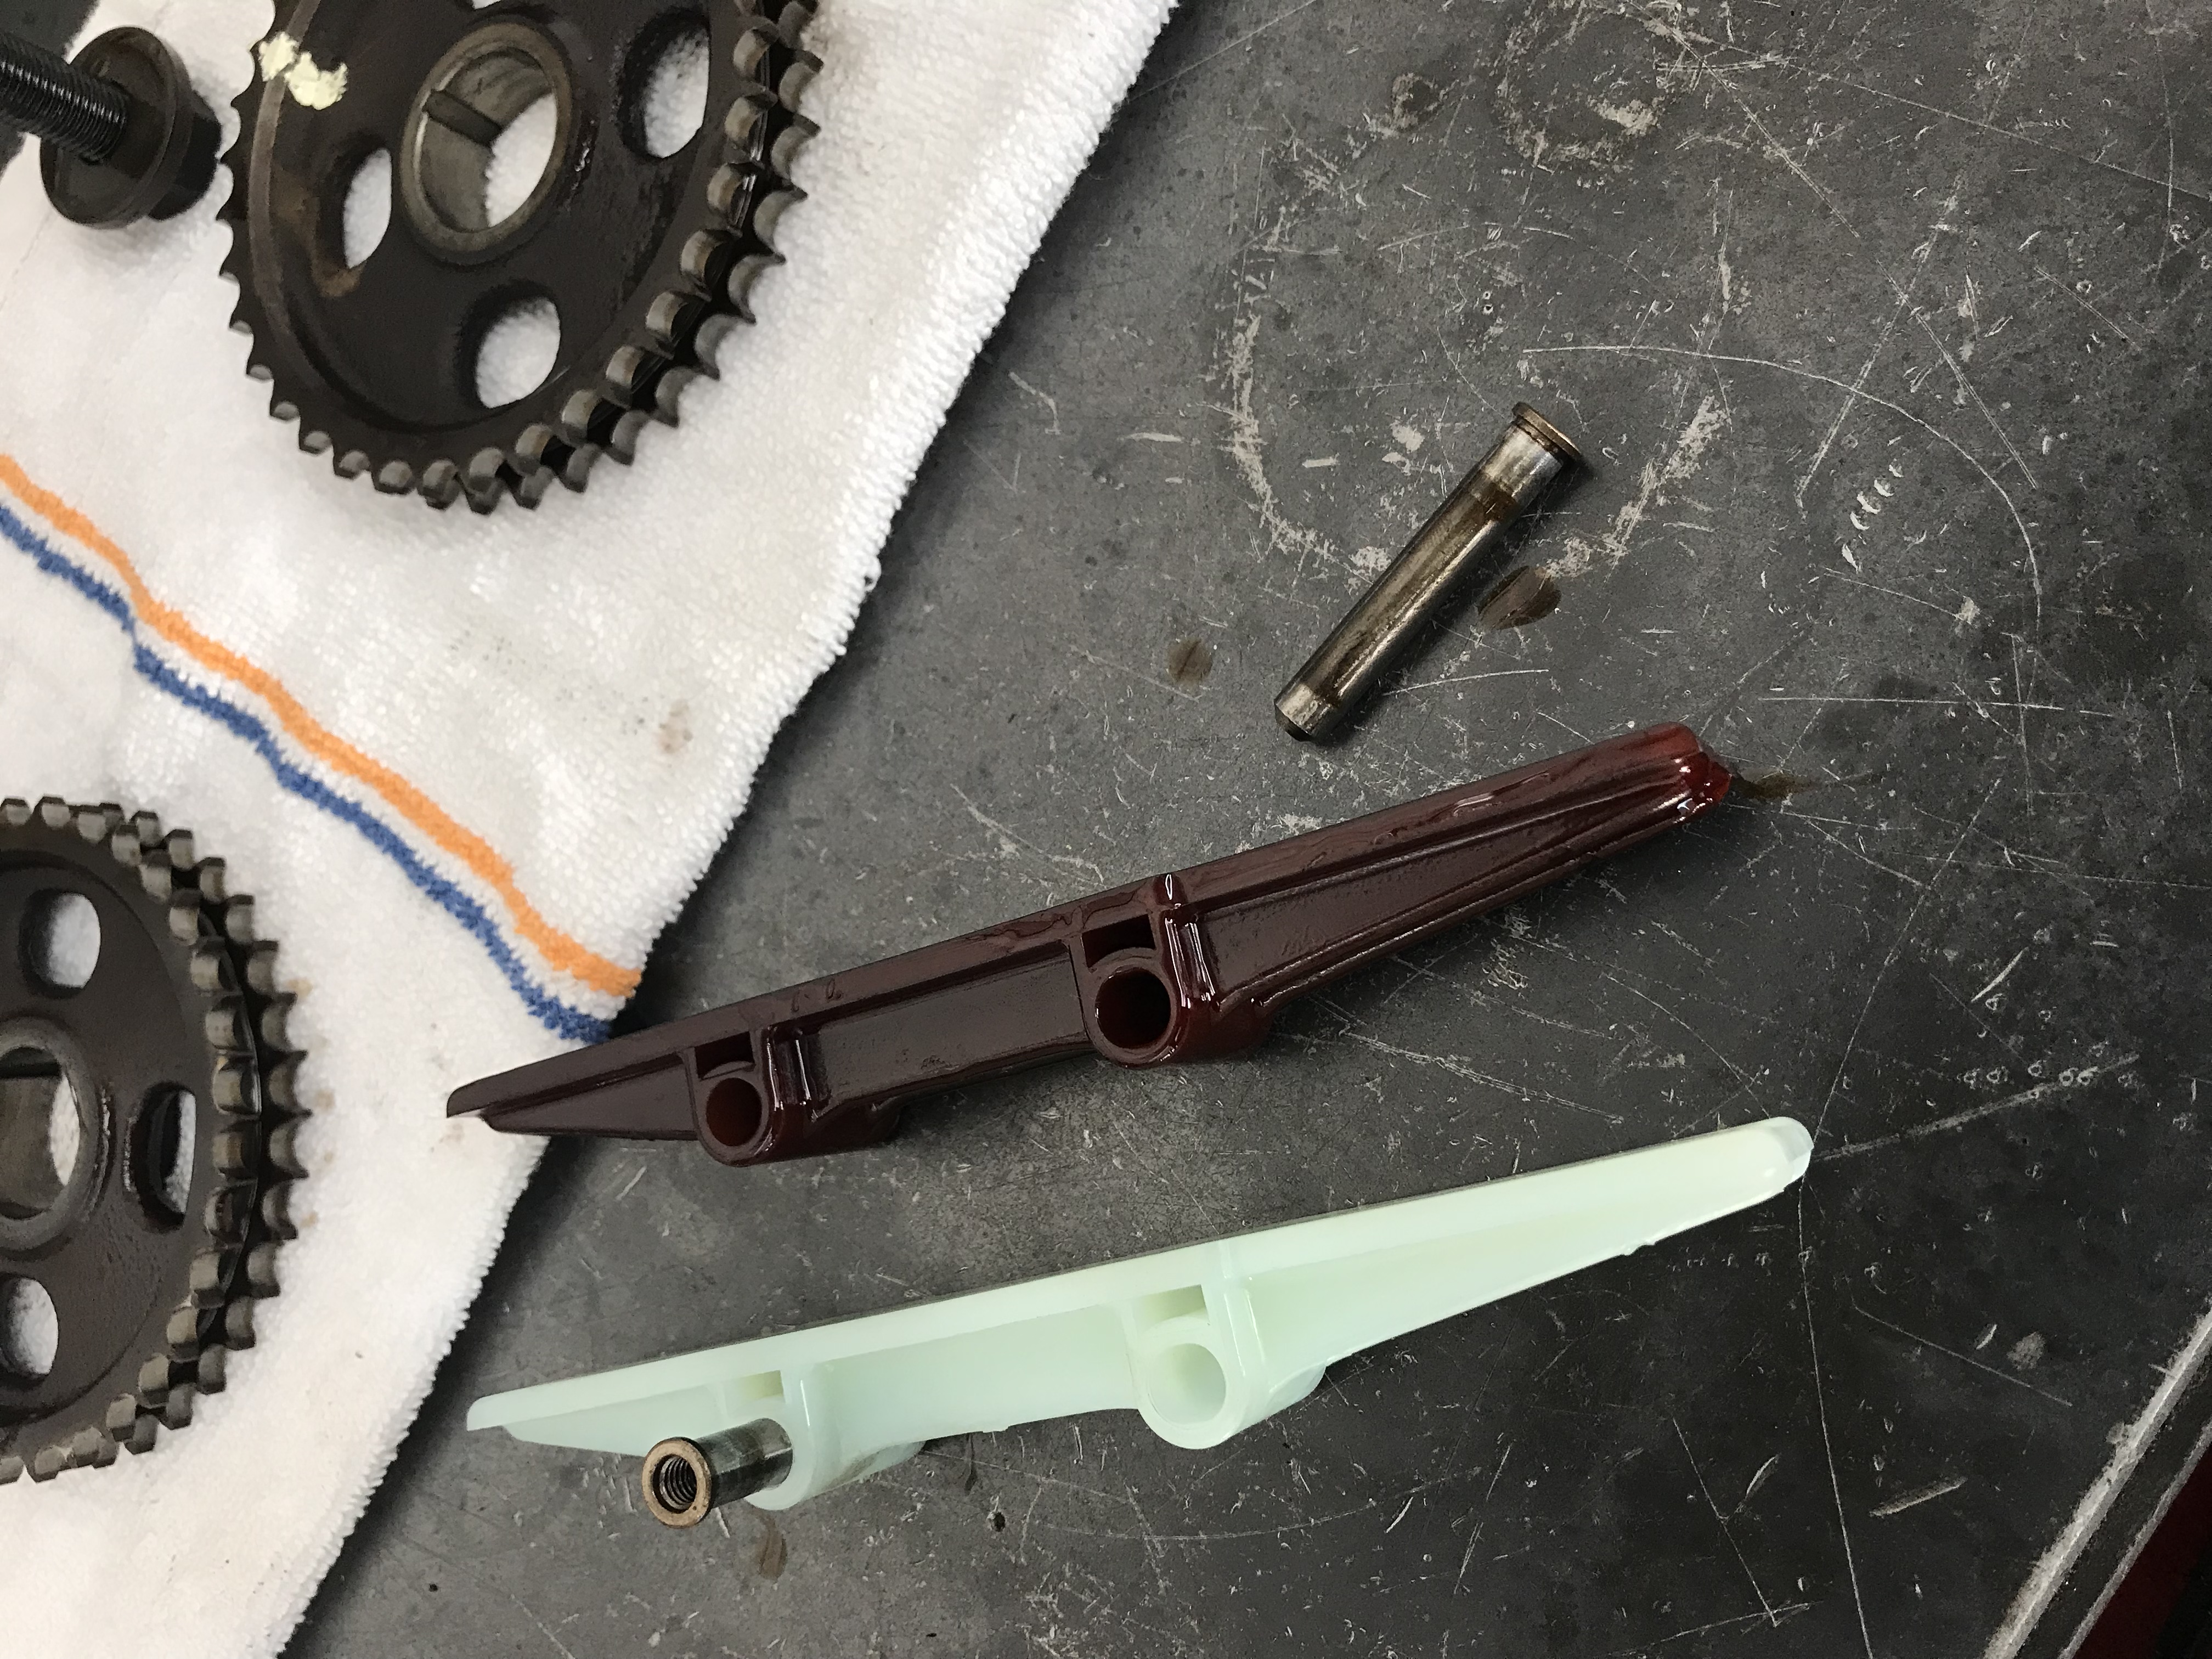
- timing chain / tensioner / rail guides / camshaft oiler / valve cover gaskets (+labor) - $2,075 USD
- engine mounts / transmission mounts (+labor) - $675 USD
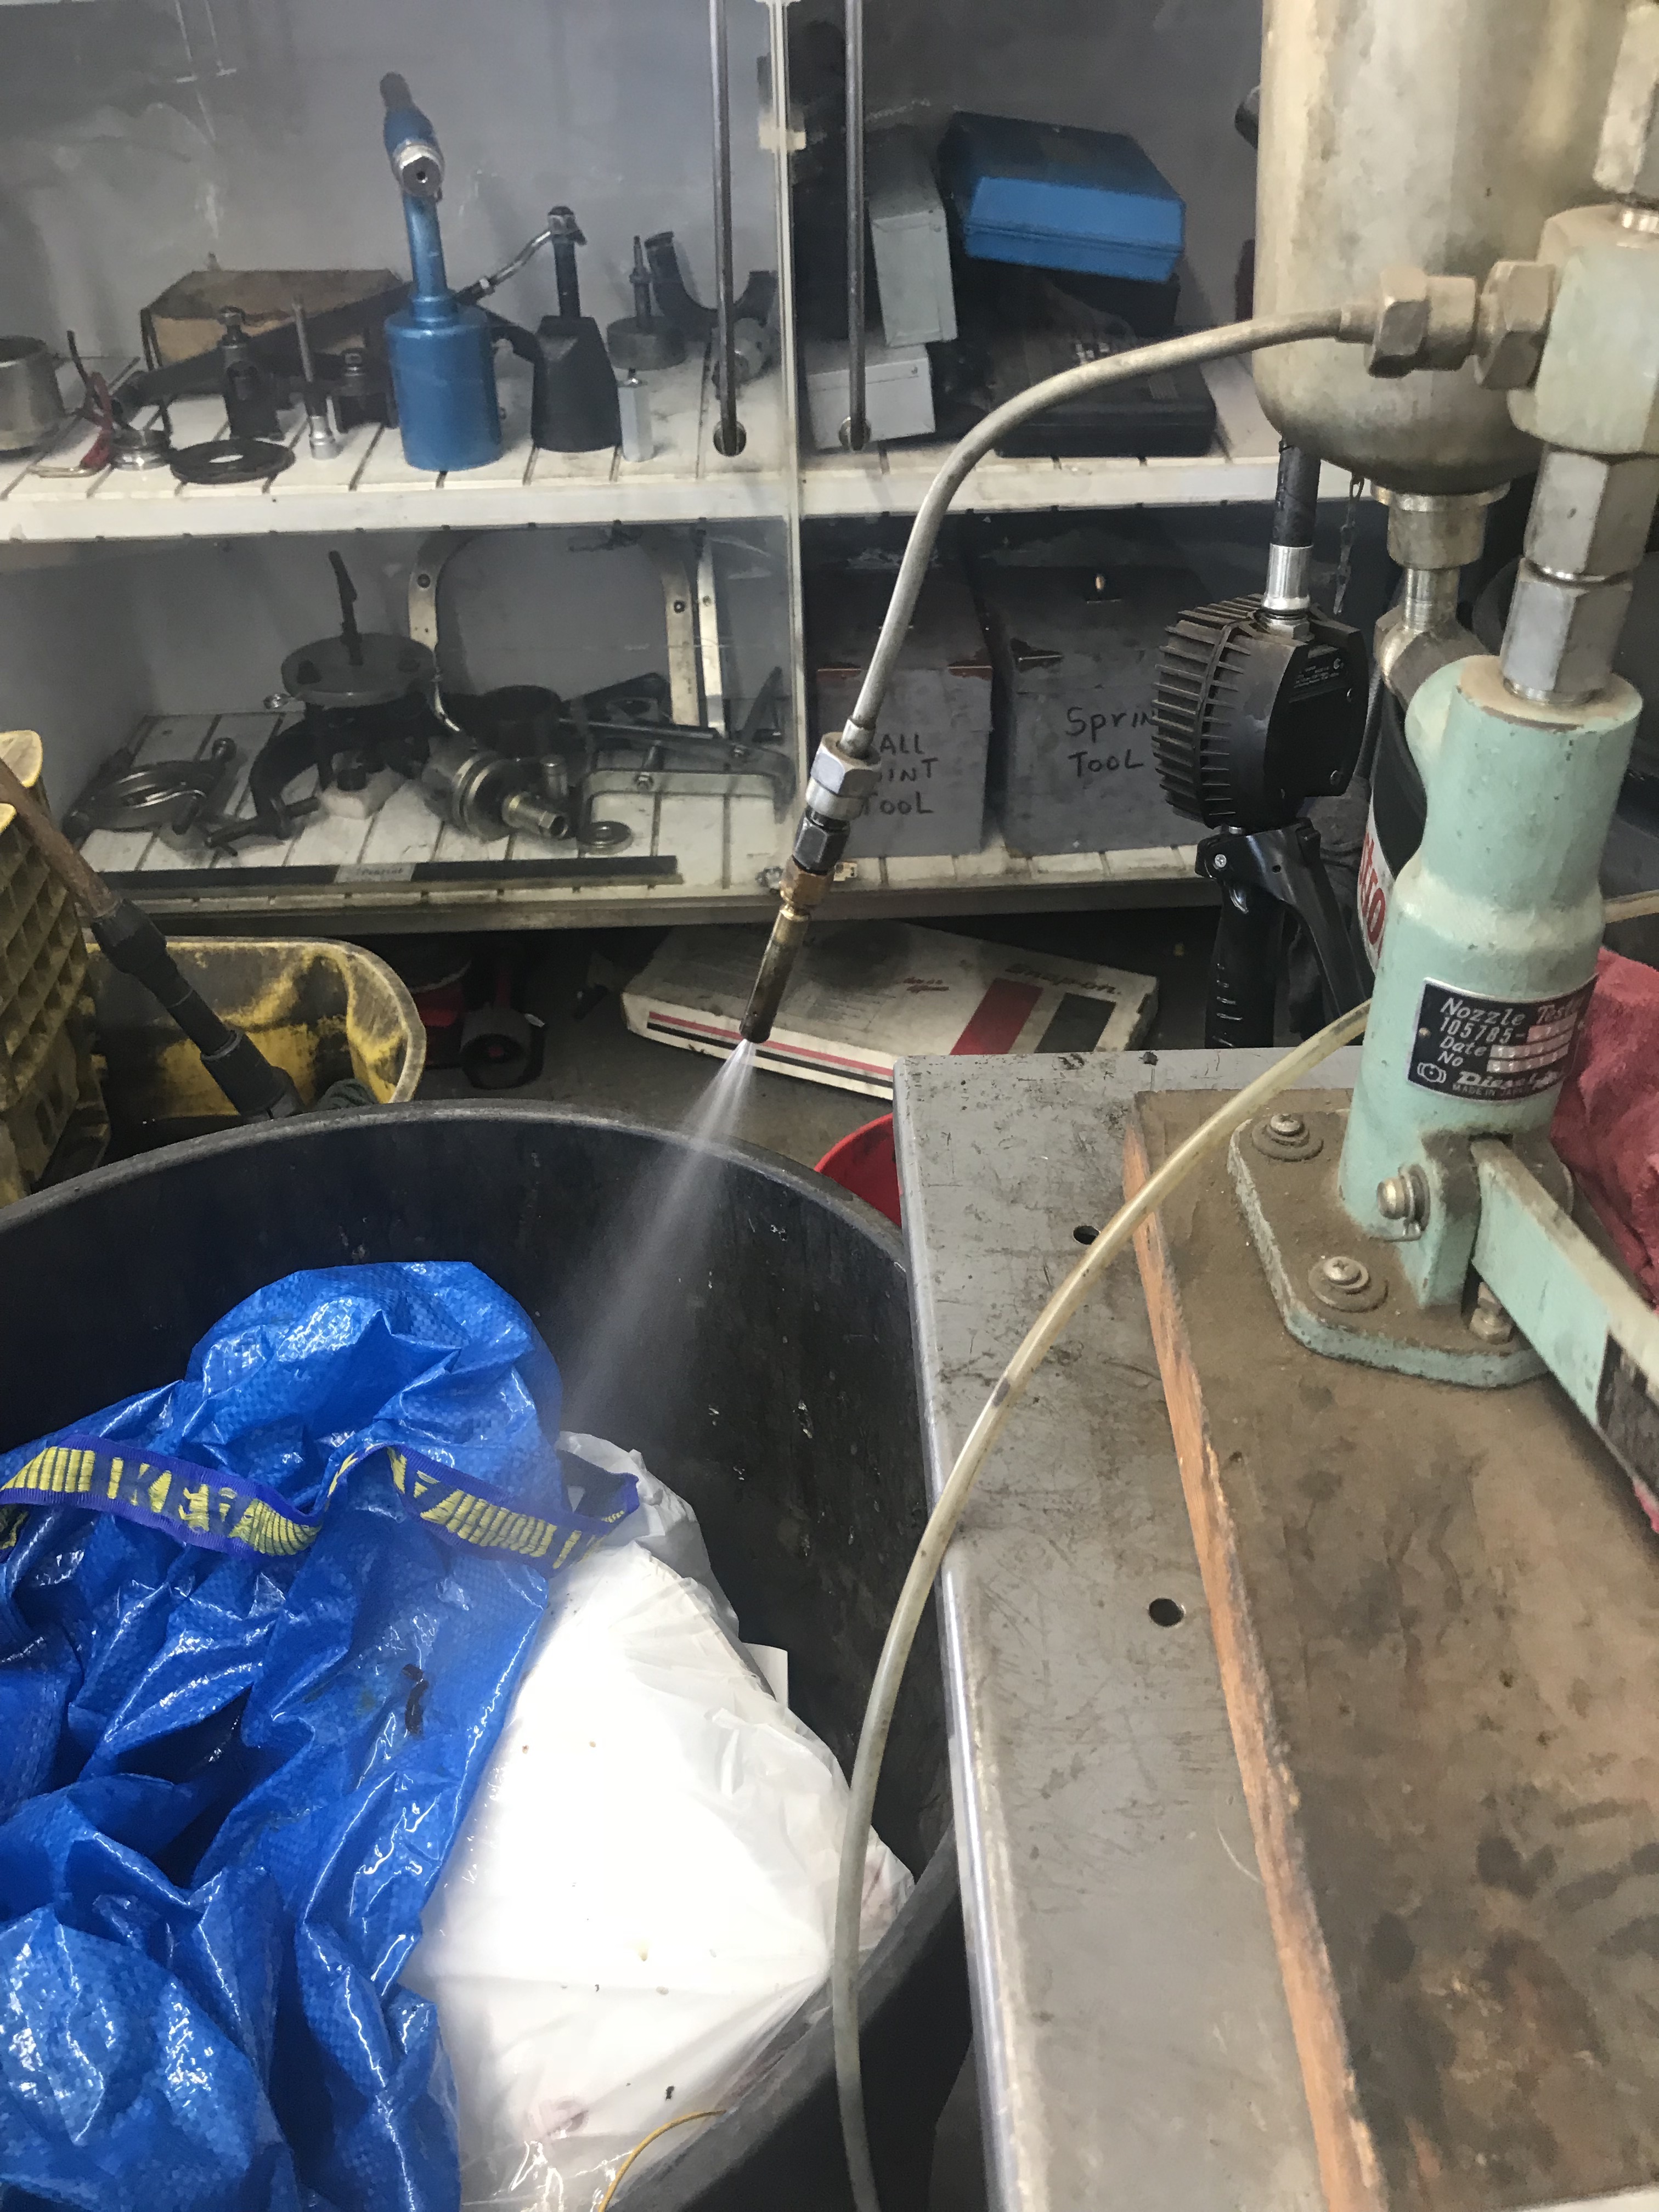
- remove and clean fuel injectors / distributor cap (+labor) - $1,025 USD
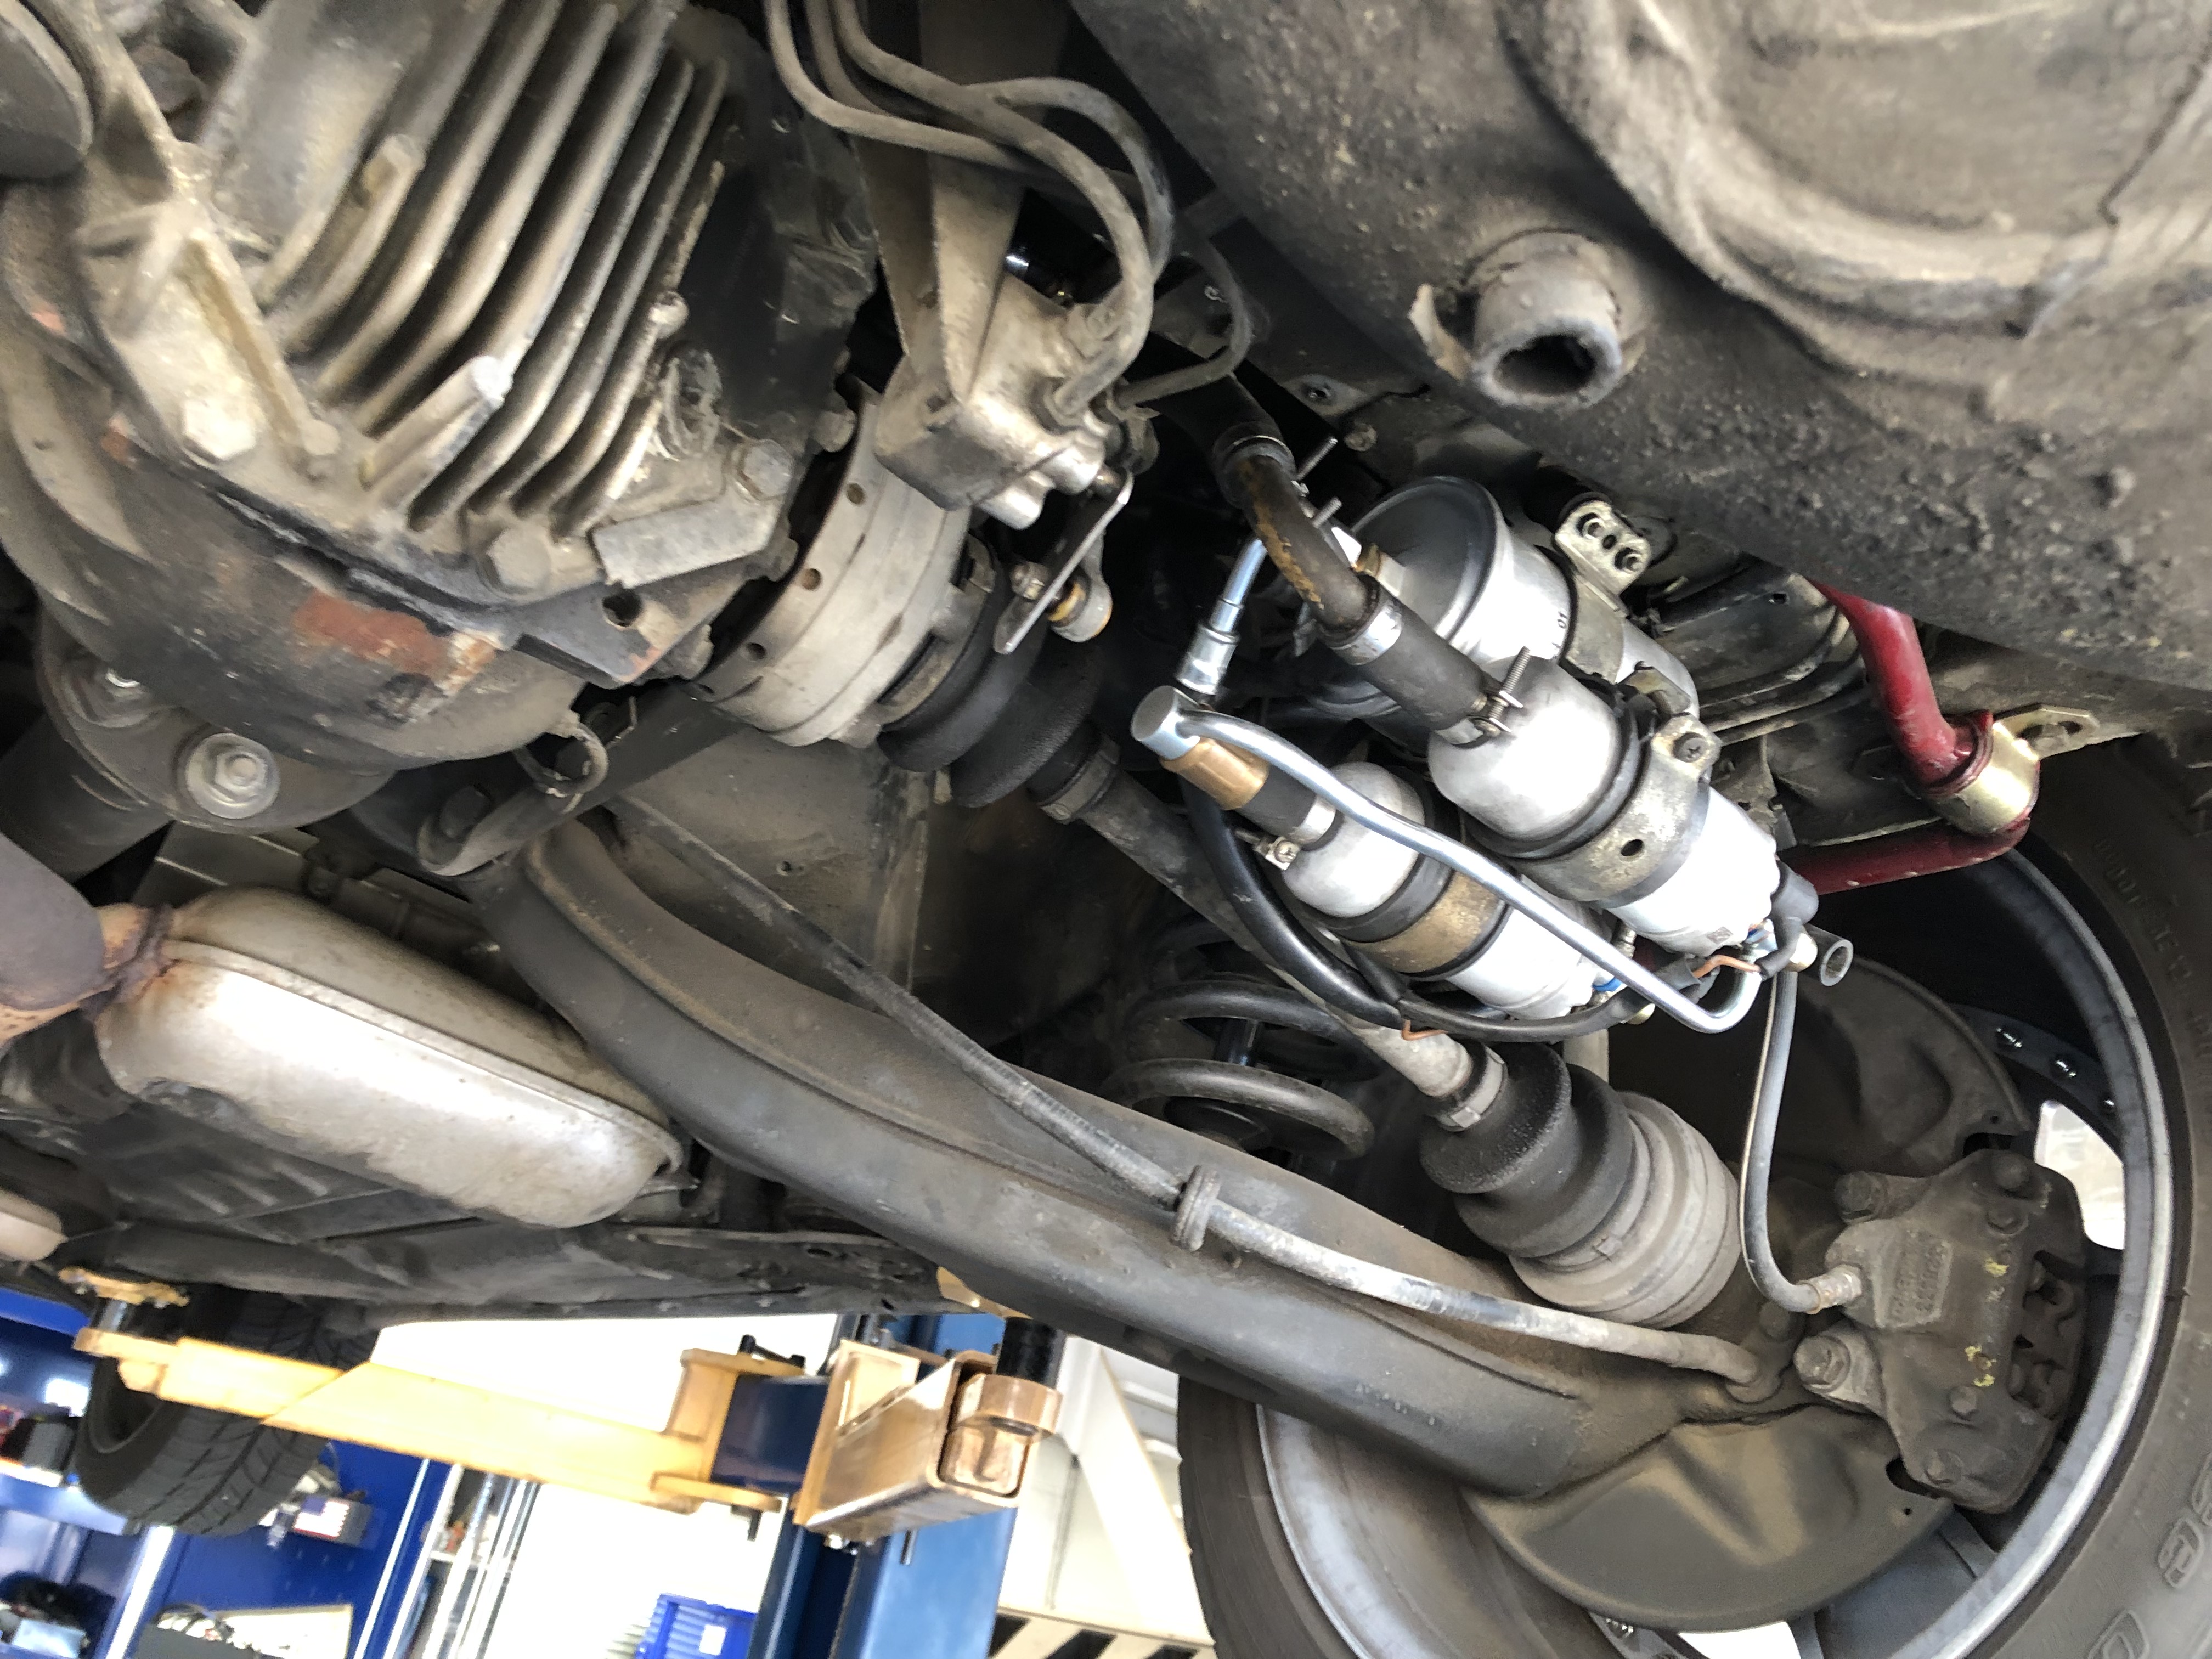
- rebuild transmission / repl flex disc / repl rear main seal - $2,400 USD
- fuel pumps / fuel filter / fuel accumulator - $400 USD
As you can see from the dollar amounts, taking care of those deferred maintenance items hits the wallet pretty hard. These were all jobs I had done over the course of maybe 18 months. It’s exciting though - as each of these items is checked off, the car starts driving better and better. Probably about as close as you can get to when it was new back in 1991.